

The right accessories make a home sauna more comfortable, while consistent care helps keep it clean, safe, and ready to enjoy. This guide to home sauna accessories and maintenance covers the essentials, from choosing backrests and buckets to cleaning benches, managing moisture, and checking sauna stones. Start with your sauna and heater manuals, then build a simple routine around how often you use the space.
1. Start With Your Sauna Type and Everyday Essentials
Before buying accessories or choosing cleaning products, identify what your sauna is designed to handle. Traditional electric, wood-burning, and infrared saunas have different requirements, especially when it comes to water, ventilation, and heater care.
- Traditional electric saunas: Many allow controlled amounts of water on approved heater stones, but only as directed by the heater manufacturer.
- Wood-burning saunas: These need additional attention to the stove, ash removal, flue, chimney, and fire-safety clearances.
- Infrared saunas: These generally do not use water on the heating elements. Panels, controls, and electrical components must be protected from moisture.
A sensible starter kit includes a clean bench towel, a suitable temperature display, a soft cleaning cloth or brush, and any care products approved for your sauna. Traditional sauna owners may also need a bucket, ladle, and the correct heater stones.
Choose materials that suit a hot environment
Accessories should be intended for sauna use. Ordinary household plastics may soften, adhesives may fail, and exposed metal can become uncomfortable to touch. Avoid bringing in decorative items, cushions, or electronics unless their manufacturer specifically permits sauna use.
Keep loose accessories away from the heater and its required clearances. Never cover a heater with towels, hang laundry above it, or leave combustible items where they could fall onto hot surfaces.
2. Make Bench Seating More Comfortable and Hygienic
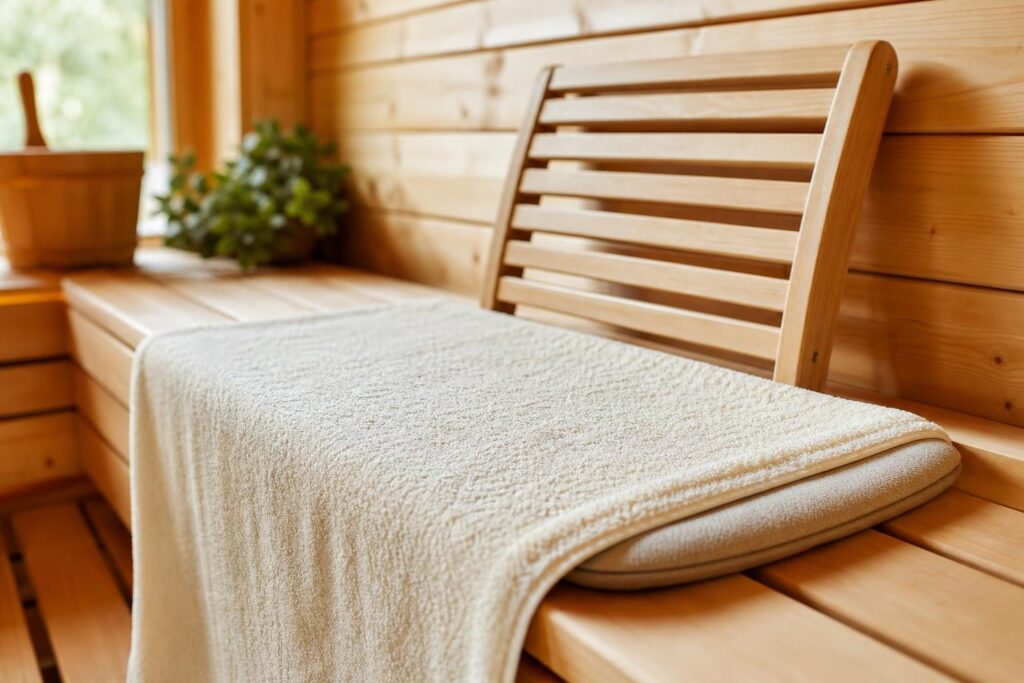
Comfort accessories are useful, but they should also be easy to clean and dry. For most owners, a towel comes first, followed by a backrest or seat pad if the bench shape needs extra support.
Sauna backrests
A well-designed sauna backrest provides a more relaxed sitting position and helps keep your back away from a hot wall. Look for smooth edges, secure construction, and a shape that fits both your body and the available bench depth.
Wooden slatted backrests allow air to circulate, but sweat can collect between the slats. Choose a design you can easily wipe down and remove for drying. Check regularly for splinters, loose joints, or exposed fasteners.
Bench towels versus seat pads
Bench towels cover a larger area and are usually straightforward to wash. Place the towel beneath your body and, where practical, beneath your feet to reduce sweat reaching the wood.
Seat pads offer a defined sitting surface and may provide more cushioning or insulation. However, thick or layered pads can dry slowly. Choose sauna-compatible materials and follow their washing and drying instructions.
Neither option eliminates bench cleaning. Remove towels and pads after each session rather than leaving them inside to stay damp.
Wool versus felted cotton sauna hats
A sauna hat can reduce direct heat exposure to the scalp and make some people feel more comfortable. Wool is commonly used for its insulating properties, while felted cotton options may appeal to owners who prefer a different feel or fiber.
Construction, thickness, fit, and care requirements matter as much as the material name. Check the label before washing: wool may shrink or lose its shape with heat and agitation, while cotton care varies by product.
A hat does not prevent overheating or make longer sessions safe. Leave the sauna if you feel dizzy, nauseated, weak, or otherwise unwell.
3. Track Heat and Humidity With Suitable Instruments
A sauna thermometer helps you understand the conditions near its sensor. A hygrometer measures relative humidity, which is useful in traditional saunas where adding water to the stones briefly changes the atmosphere.
What to look for
- Sauna-rated construction: The instrument must tolerate the temperatures and humidity expected in your sauna.
- Readable markings: A clear display is more useful than a decorative dial that is difficult to read from the bench.
- Appropriate measurement range: A household room thermometer may not be suitable.
- Correct sensor arrangement: Some digital systems keep the display outside while using a rated sensor inside.
Combination thermometers and hygrometers save wall space, but humidity readings can respond slowly to short bursts of steam. Treat them as helpful indicators rather than perfect descriptions of what you feel at every moment.
Placement matters
Temperature varies substantially with height and distance from the heater. Follow the instrument manufacturer’s placement instructions, and avoid assuming that a reading beside the door represents conditions at head height on the upper bench.
Do not move, cover, or alter the heater’s control sensor to change its behavior. A separate accessory thermometer is not a replacement for the heater’s safety controls.
4. Choose and Care for Traditional Sauna Buckets and Ladles
A bucket and ladle provide a controlled way to add water to stones in a compatible traditional sauna. They are not essential accessories for an infrared cabin, and water must never be poured onto a heater that is not designed for it.
Wood versus stainless steel buckets
| Bucket type | Main advantages | Care and handling considerations |
|---|---|---|
| Wood | Traditional appearance and a comfortable exterior to handle | May need specific care to prevent drying-related leaks; lined versions require care for both materials |
| Stainless steel | Durable and generally easy to clean | Metal can become hot; handle design and placement are important |
Some wooden buckets use a removable liner, while others rely on traditional stave construction. Their care instructions differ, so do not assume every wooden bucket should be soaked or stored with water inside.
Choose a ladle that allows comfortable pouring while keeping your hand away from rising steam. Add water in the amounts and manner permitted by the heater manual; more water is not automatically better.
Keep sauna water simple
Use clean water that meets the heater manufacturer’s requirements. Hard water can leave mineral deposits, and unsuitable water can contribute to corrosion or other damage.
Never pour undiluted essential oils, cleaning chemicals, or improvised fragrance mixtures onto stones. If fragrance is permitted, use only a compatible sauna product at its specified dilution. Empty and clean the bucket after use, then let it dry according to its care instructions.
5. Select, Inspect, and Replace Sauna Stones Correctly
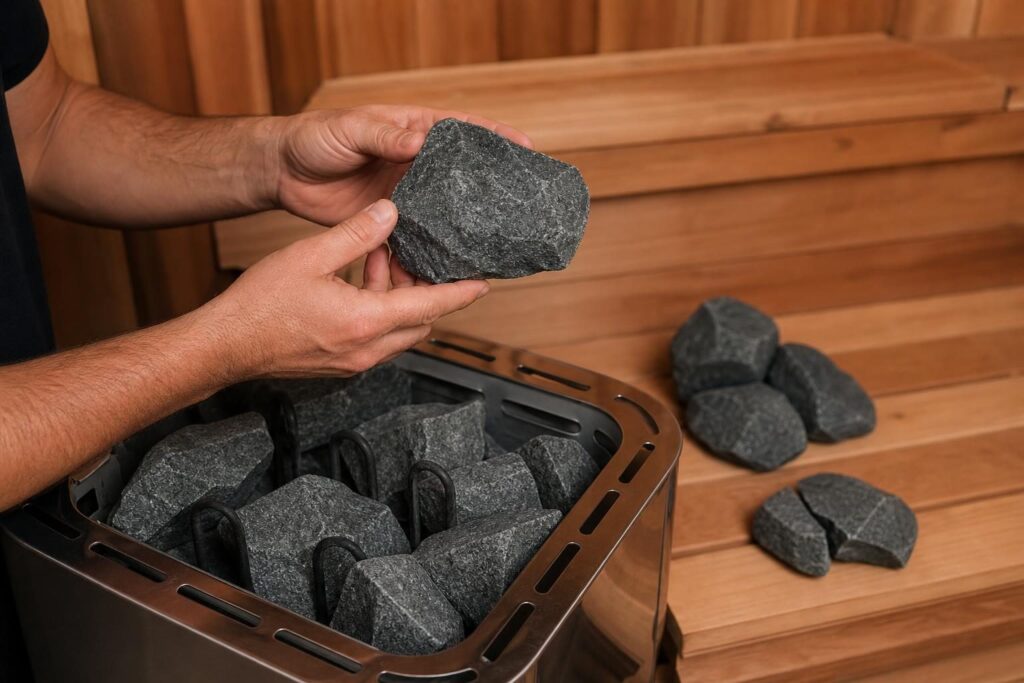
Sauna stones are functional heater components, not just decoration. Their size, type, condition, and arrangement affect airflow and heat transfer. Use only stones approved for your specific heater rather than garden rocks, decorative pebbles, or stones collected outdoors.
Sizing and preparation
If you are considering Harvia sauna stones, check the stone product guidance alongside your heater manual. The Harvia name alone does not establish compatibility: different heaters may require different stone sizes, quantities, or types.
Before loading new stones, follow the preparation instructions, including rinsing away loose dust where directed. Inspect for damaged pieces and arrange the stones as the heater manual specifies. Do not wedge them tightly between heating elements or pack them so densely that airflow is restricted.
How often should sauna stones be replaced?
There is no single replacement interval suitable for every home sauna. Usage frequency, water application, stone quality, and heater design all affect how quickly stones deteriorate. Follow the manufacturer’s inspection and replacement schedule, checking sooner if performance changes.
Signs that stones need attention include:
- Cracks, crumbling surfaces, or pieces breaking apart.
- A growing accumulation of fragments beneath the heater.
- Stones settling into a tightly packed arrangement.
- Changes in heating or steam performance that persist after other causes are checked.
Switch off the heater, isolate power as instructed, and let everything cool completely before handling stones. Remove debris and reload or replace stones according to the manual. If heating elements appear damaged, stop using the sauna and arrange qualified service.
6. Clean Sauna Benches Without Damaging the Wood
The best cleaning routine removes sweat and dirt without saturating the timber or leaving residues that become unpleasant when heated. Frequent light cleaning is usually easier on the wood than allowing heavy buildup to develop.
A gentle bench-cleaning method
- Let the sauna cool: Switch off the heater and wait until surfaces are safe to handle.
- Remove loose debris: Wipe or vacuum accessible areas without damaging the wood or heater components.
- Use an approved cleaner: Apply a sauna-compatible product, or another cleaner expressly permitted by the sauna manufacturer.
- Scrub gently: Work with the grain using a soft brush or cloth, paying attention to seating areas and bench edges.
- Remove residue: Wipe with a clean, lightly damp cloth, or rinse only as the construction and manual allow.
- Dry thoroughly: Use the sauna’s recommended ventilation and drying procedure.
Avoid pressure washing, abrasive wire brushes, and soaking interior wood. Do not apply furniture polish, ordinary varnish, or household wood oils to benches. Only use finishes specifically approved for the relevant sauna surface.
For stubborn stains or rough spots, the manufacturer may permit light sanding after the wood has dried. Sanding is not a substitute for resolving mold, rot, or moisture problems.
Clean glass, floors, handles, and other high-touch surfaces with products suitable for their materials. Keep sprays and excess water away from infrared panels, controls, lights, and electrical connections.
7. Prevent Mold Through Moisture Control and Ventilation
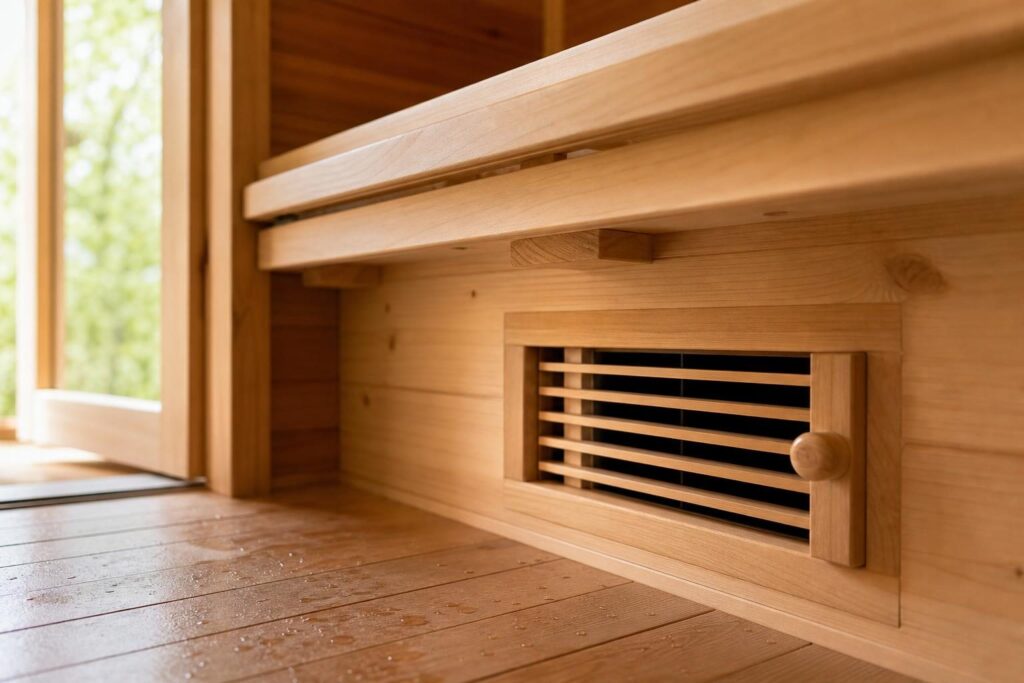
Mold prevention depends on removing moisture, not simply making the sauna hot. Benches, floor corners, towel storage areas, and poorly ventilated spaces beneath seating can remain damp after the air has cooled.
Build drying into every session
- Take out used towels, seat pads, hats, and other damp accessories.
- Remove standing water where the floor design allows.
- Leave vents in the positions specified for post-session drying.
- Follow the manufacturer’s guidance on whether the door should remain open or closed.
- Use any approved drying cycle rather than improvising prolonged heater operation.
The surrounding room matters too. An indoor sauna cannot dry effectively if it releases moisture into an already damp, poorly ventilated space. Check nearby walls, flooring, and concealed corners for condensation or leaks.
Recognize warning signs early
A persistent musty smell, recurring dark patches, soft wood, or surfaces that stay damp deserve investigation. Some discoloration comes from sweat or metal staining rather than mold, so appearance alone may not identify the cause.
If mold is suspected, pause use while assessing the affected area and moisture source. Extensive, recurring, or concealed growth may require professional remediation. Never mix cleaning chemicals, and do not assume that heating the sauna will solve the problem.
8. Follow a Practical Maintenance Schedule
A short checklist makes home sauna accessories and maintenance easier to manage. Use this as a starting point, then adjust it to your usage and the manufacturer’s instructions.
| When | Tasks |
|---|---|
| Before each session | Check that the heater area is clear, accessories are sound, and there are no unusual smells, visible damage, or obstructions. |
| After each session | Remove damp textiles, empty the bucket as appropriate, wipe obvious sweat or spills, and complete the recommended drying routine. |
| Regularly, according to use | Clean benches and floors, wash accessories, inspect backrests and fasteners, and check that vents remain unobstructed. |
| At manufacturer-specified intervals | Inspect and service stones, heater components, controls, and any other items identified in the manuals. |
| Seasonally for outdoor saunas | Check roofing, drainage, exterior finishes, door operation, weather exposure, and signs of water entry or pests. |
Know when to call a professional
Stop using the sauna if you notice scorching, exposed wiring, repeated electrical trips, damaged heater elements, or a strong unexplained burning smell. Electrical repairs belong with a qualified professional, not a general cleaning routine.
Wood-burning sauna owners should follow the stove manual and local requirements for chimney inspection, sweeping, ash disposal, and fire protection. Ash can retain hot embers long after a fire appears extinguished.
Keep a simple record of stone inspections, repairs, and persistent issues. It helps you recognize changes and gives a service technician useful information.
9. Conclusion: Keep the Setup Simple and the Care Consistent
A well-maintained home sauna does not need a large collection of accessories. Start with comfortable, washable seating protection, suitable monitoring tools, and any equipment your heater requires. Then focus on gentle cleaning, thorough drying, and regular inspections. Following the manuals and addressing small problems early will help keep your sauna welcoming and dependable.